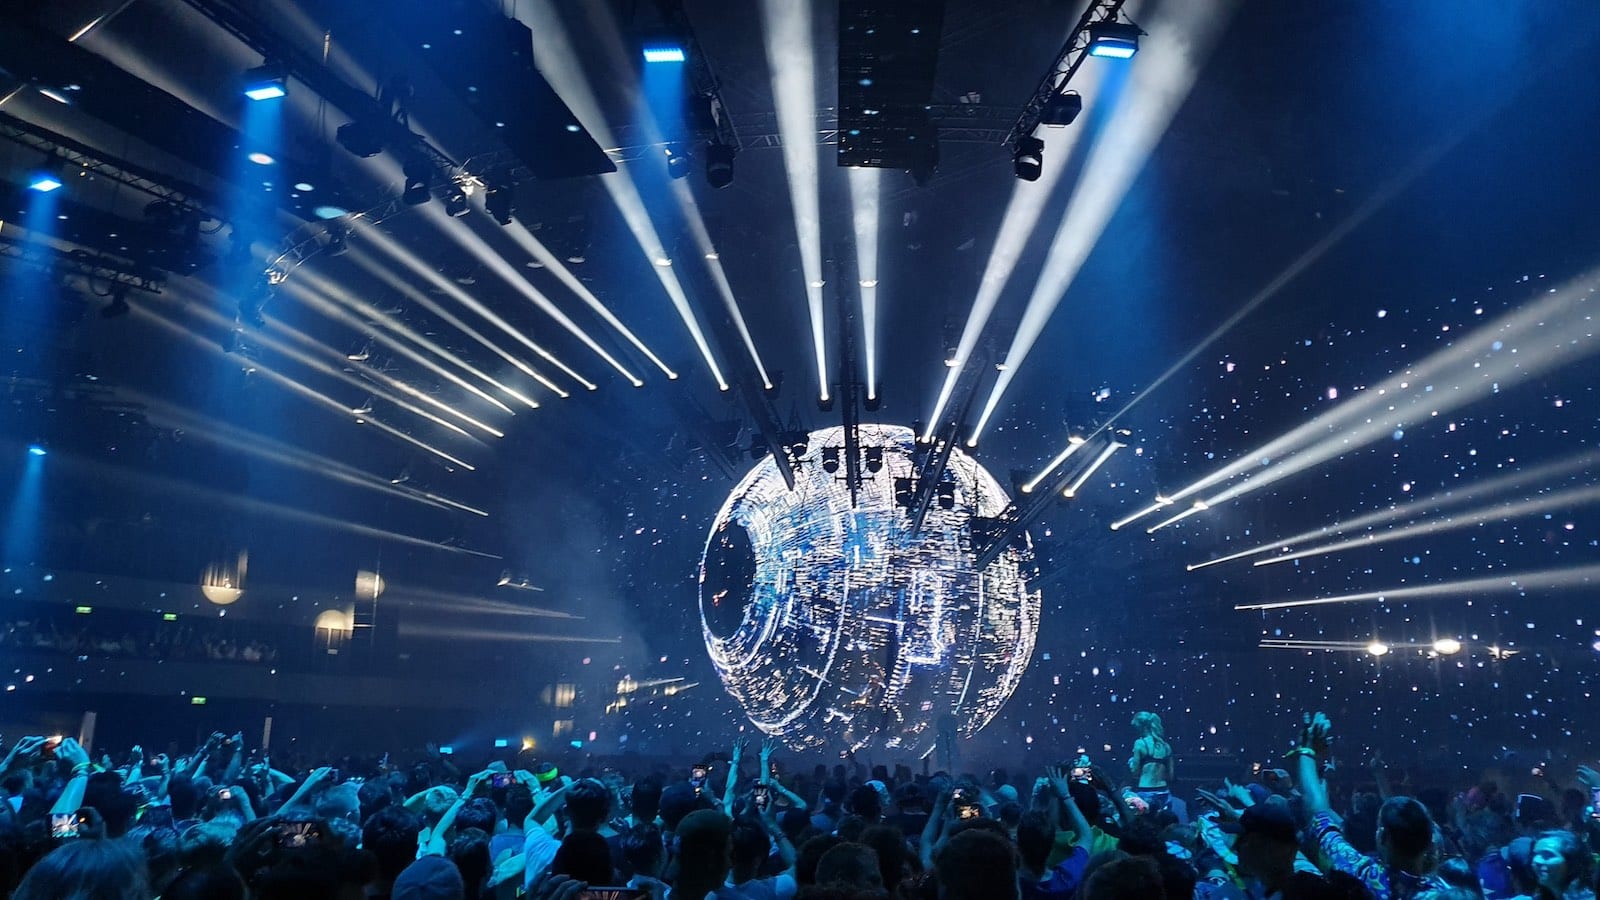
Recording a concert is not an easy thing since it’s influenced by many aspects if you want to achieve good, clear, and clean sound and visuals.
Your remote participants deserve the best broadcast quality. Whether you’re planning a musical concert, a festival, or other event formats, Movavi advises you on how to record a live show.
The Necessary Preparation Before Live Broadcasting
The good thing about live broadcasting is you don’t have to suffer your guests to go through the nightmare of packing, traveling, camping, and other stresses, although you would be losing out on revenue opportunities.
But let’s focus on achieving your goal: broadcasting your live event on a digital channel such as Youtube Live. Below, we’ll take a look at the do’s and don’ts on the preparation and logistics necessary to organize your show and also how to record a concert on YouTube Live.
Do: Ask a lot of questions
It is important to ask relevant questions before each session, especially before a live recording. You need to know:
- What type of instruments will be on ground?
- How many musicians are going to record at the same time?
- What instruments will be the main focus?
In addition to this, it is also very important to prepare the venue aesthetically so that the band feels comfortable playing and can deliver their best interpretation of the songs. By this, we’re talking about the atmosphere, the arena, and more.
Do: Book the right location
If you thought of filming your event in your old meeting room, your cramped living room, or in the middle of the forest under a snowstorm, forget this idea immediately! A good filming location should preferably be indoors, functional and flexible (with electrical outlets, high-speed internet connection), silent and bright.
In addition, the interior architecture and decoration must enhance your event, and if possible, visually stimulate your spectators with a touch of originality. Regardless of whether you’re organizing your event during winter, heat, or the wet season, create backup plans for rain, snow, heat, or what have you.
Don’t: Save money on technical logistics such as cameras, microphones, lighting
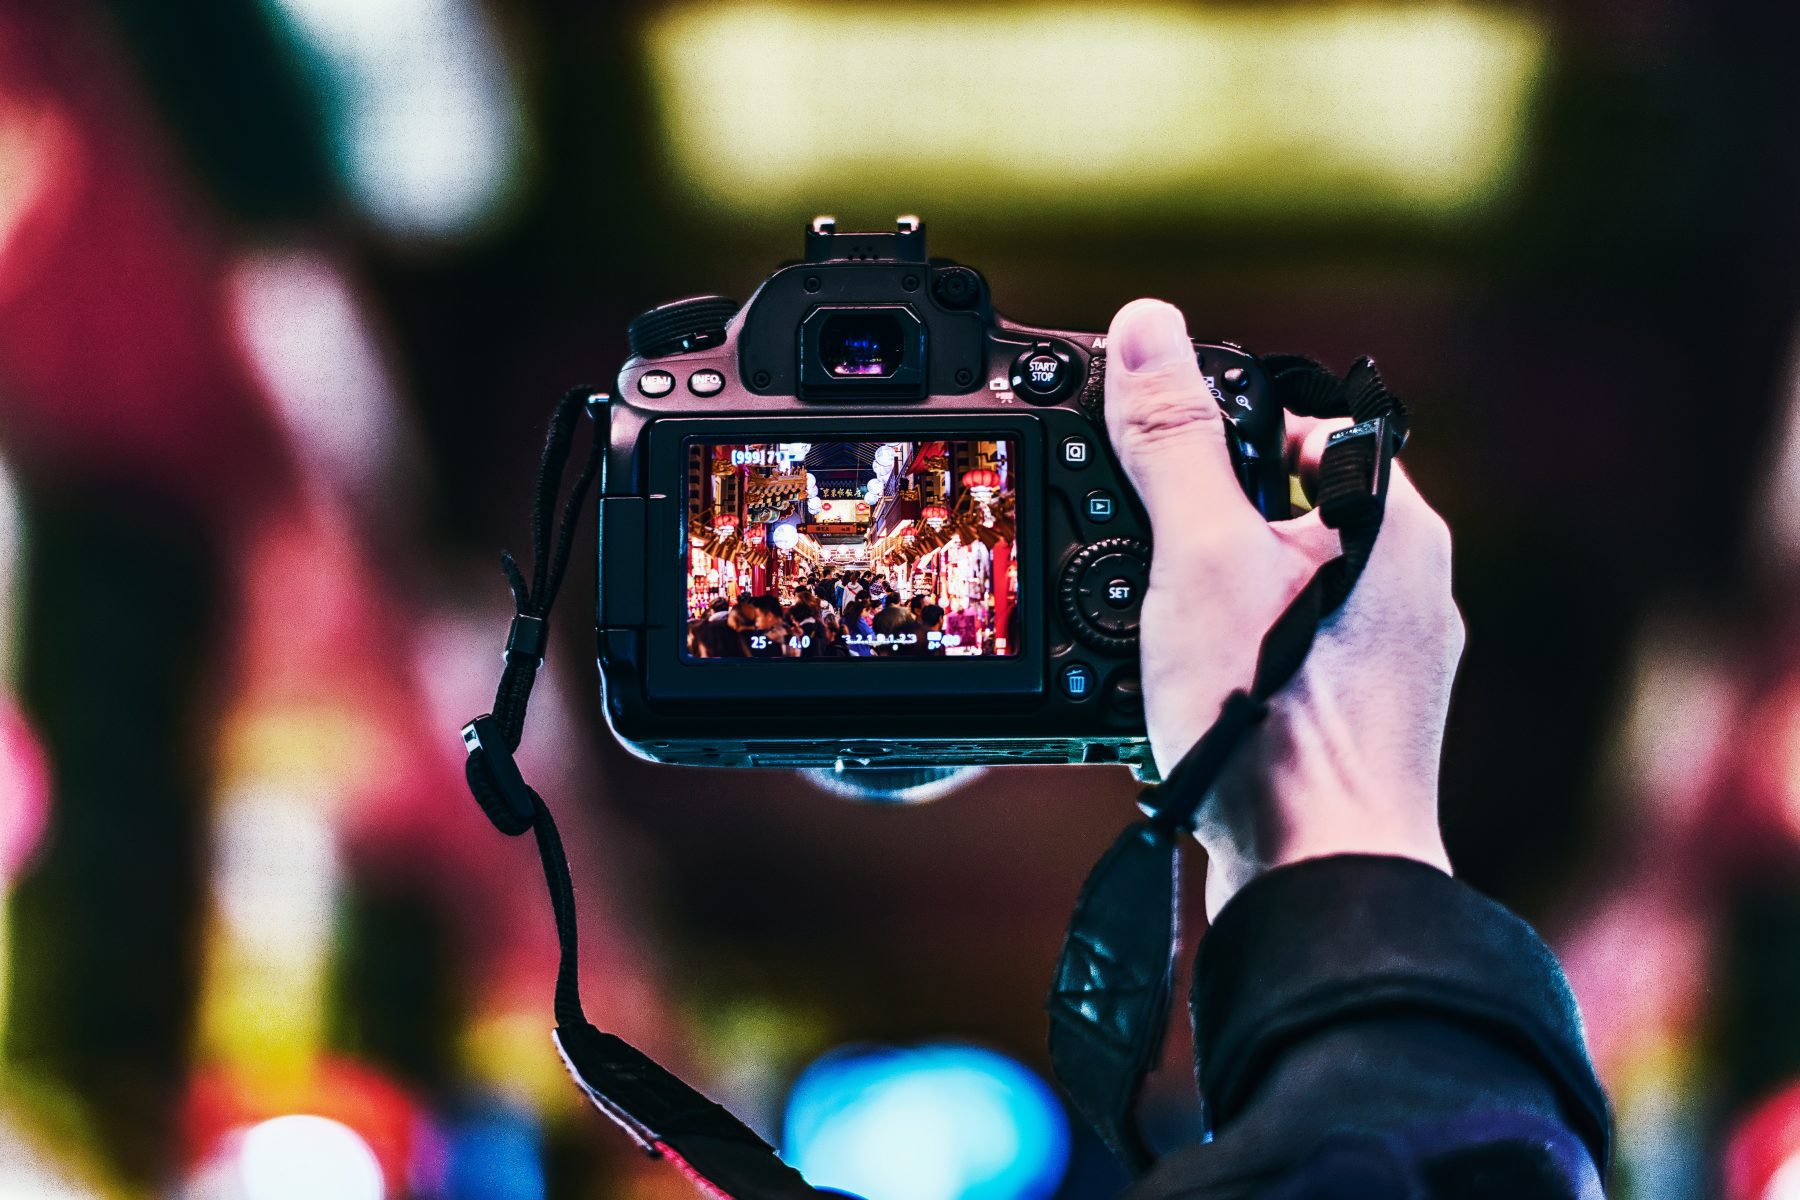
Next, let’s go over the logistics. The basics of live audio recording and video coverage start with the technical equipment. Don’t tinker with the pixelated webcam of your computer or the damaged microphone of your phone! It will be necessary to provide real filming equipment, with at least a good camera, a microphone, and lighting.
Do not try to save money by neglecting this step, because poor picture or sound quality is a serious glitch on the internet. Therefore, equip yourself with the right equipment: it will be an excellent investment.
In addition, you may call a technician or a person qualified to install, configure and operate your videography equipment. Any live technical incident would be catastrophic, which is why you should also test your instrument and equipment set. In short, make sure everything is working before you start playing.
Do: Set up Youtube Live to broadcast your event live
To broadcast your event live on Youtube Live, you need to have created your channel and set up your live streaming video to be broadcast well before D-Day.
Fortunately, the world’s second most popular search engine provides you with all the tools you need to succeed in just a few clicks. Now let’s see how to set up your account and schedule your show correctly.
On the internet, the foundations of a project are often neglected, even though they are the most important. Before you throw your eyes closed in the arena with your video, take great care in creating your Youtube channel. This must be the result of careful consideration, with objectives, an editorial line, and a sustainable strategy worthy of a real web TV.
How to set up YouTube Live
Setting up a YouTube Live and creating your video isn’t straightforward neither is it so hard.
Step 1: Sign up and set up the account
- Sign up with the correct Google Account. Do not mix your professional life with your private life, your hobbies, your projects, etc.
- In your drop-down menu (top right of the screen), click on “Your channel”. If you already had one but want to create a new one, you can also add a channel to this account by going to “Settings”.
- Youtube then offers you to choose between a personal channel (which will bear your personal name), or a branded channel, which you can name as you wish.
- Carefully fill in all the requested information: profile picture, banner, descriptive paragraph of the channel, contact email address, links to social media accounts, etc. The description is very important. In a few sentences, use the keywords that correspond to your activity, your field, your specificity, which will make your videos easier to find by your target audience. Also, add appropriate tags for your theme.
- Then, in the “Settings”, check and add the missing information by going to “Channel Status and Features”. It would take too long to detail everything, but to summarize, take the time to explore all the sections to set up your Youtube account. So everything will be in order and you will familiarize yourself with this powerful tool.
- Also, by going to the “Youtube Studio“, you can customize and optimize your channel at any time. In particular, you will find the possibility of displaying in the image a subscription button, a link to another of your videos, or even creating your personalized channel URL, for example.
Step 2: Set up a moderator
- Remember to designate a moderator (or more), very useful to monitor and manage the discussions in comments during your live streaming events.
- This can also be done in your “Settings”.
Step 3: Make soundchecks, test, and schedule the live broadcast
- Configure the video of your event and schedule the live broadcast on Youtube.
- Let’s come to creating your video to broadcast your event on Youtube Live! As you can see, all you have to do is click on the button in the shape of a camera at the top right of your screen and select the option “Go live”. Easy, isn’t it? At this step, Youtube allows you to configure your livestream.
- Above all, start by carrying out a test by choosing a private broadcast, to check the operation of your shoot.
Step 4: Create your thumbnail photo and describe the video
- Then, you can take your thumbnail photo (the still image of your video that will appear in the search engine with the title) or upload a personalized one.
- The broadcast schedule function (date and time) is also available at this point. Also, remember to use a good video description with the most relevant keywords for better SEO.
Do: Go further with a live streaming or videoconferencing application
You can also use a video conferencing or video calling app, like Skype, Zoom, Hangout, Meet, etc. By connecting your account on this tool to your Youtube channel, you will be able to broadcast a live show on Youtube Live.
Finally, if you already find the features of Youtube Studio too limited for your use, take it up a notch by using a professional live streaming application such as OBS, Ecamm, Streamyard, Wirecast, Be Live, Vmix, etc. You can also stream from Ableton Live to OBS.
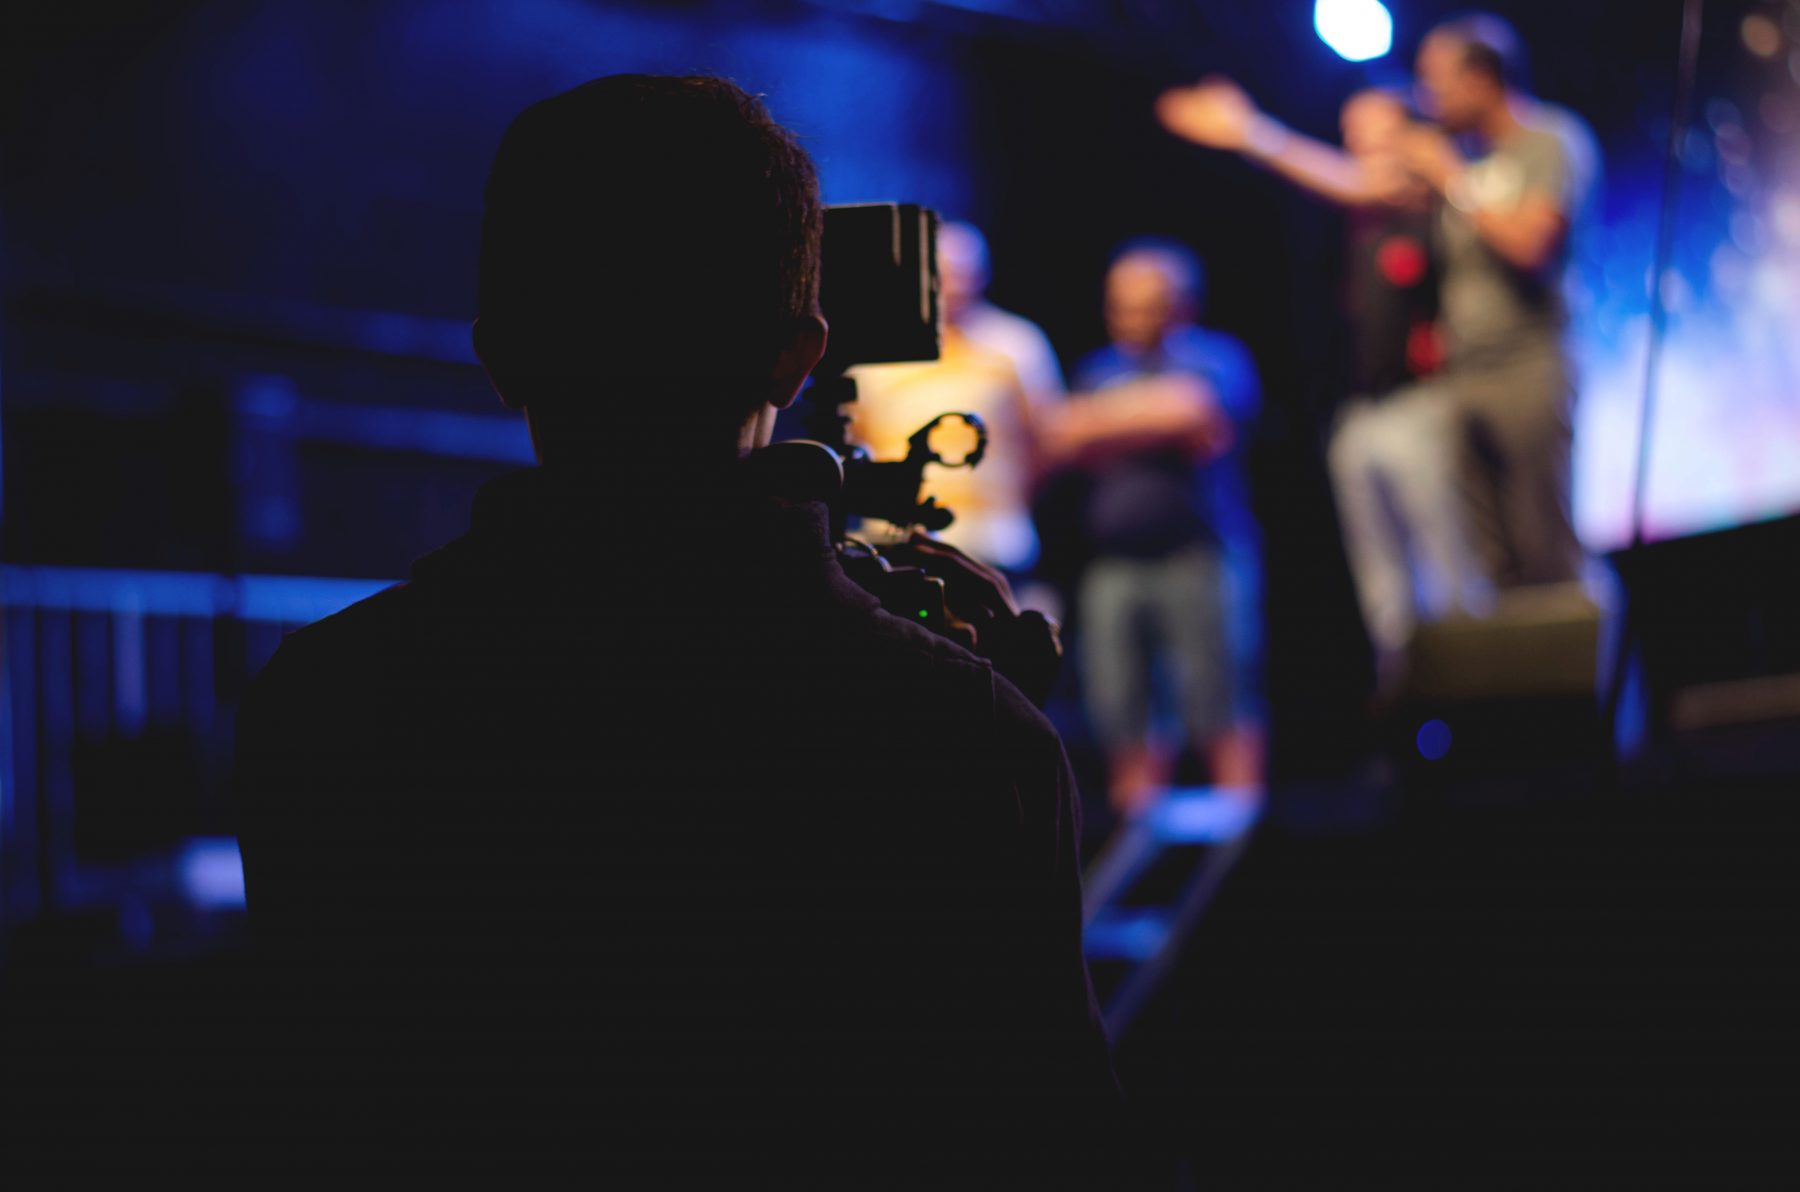
Do: Prepare the session ahead of time
It can be quite helpful to draw out your instrument, microphone, and microphone placement plans in preparation for the session.
If you can do it from the night before, that would be amazing. Live sessions involve a lot of time and work and it’s best to save yourself that time for anything that doesn’t turn out the way you expect.
Consider the role of each instrument and how much power it has to project. Then choose which mic pattern and positioning best suit you to achieve what you want. Use the blind spots of the microphones to control signal straining.
Remember: Bi-directional microphones reject the signal from the sides, while cardioid microphones reject the signal from the rear.
Use these properties appropriately to ensure that instruments that are close and can leak signal to other microphones, is reduced considerably. Remember to check the phase if you have multiple microphones capturing the same signal.
Make sure you record multiple practice shoots before the main live recording. This is essential to prevent any problem that would make you regret it later during post-production. This happens VERY often.
Another of the super important things to check in these practice shots is the level of signal straining that you are receiving in each microphone. Maybe you thought that the positioning and the microphone you were using for X instrument was the right one, but suddenly when you listen you realize that the signal from another instrument is getting in by 80%.
It’s better for you to experience this during your soundcheck so you can work it out either by changing the mic, the positioning, or both.
Don’t: Forget to tune the instruments
Musical tuning can be difficult to review with some musicians without becoming a bit frustrating. From the beginning, you have to let them know that you are on their side and that having the instruments tuned correctly will make the song sound a thousand times better.
You have to let them know that the instruments need to be tuned after each take as they tend to go out of tune slightly after they are played. If you skip this important part of the live recording, trust us, you can get into a dead-end later in post-production.
While tuning software has become more and more precise, tuning a live-recorded instrument where noise from other instruments can get in can be nearly impossible. Avoid this by checking the intonation with each take.
Don’t: Ask your guests to livestream
If you’re at a live location with fans and guests, don’t irk the club or the managers of your location by asking your guests to live stream the show to make it popular. Many clubs don’t allow their guests to take photos or live stream videos while the event is ongoing.
Conclusion
This advice and tips for recording live bands are essential to achieve quality recordings. Some are really simple processes to carry out. However, sometimes, the emotion or pressure of wanting to record can make you forget or skip important steps. And this will only make the process more complicated afterward.
So plan everything in advance and pay close attention. And when you’re done with everything, don’t forget to learn how to add a timer to a video. This can let your targets anticipate the show and get as many audiences as you want when the video finally comes live.

